Monday, 8 November 2010

West Coast Bobber

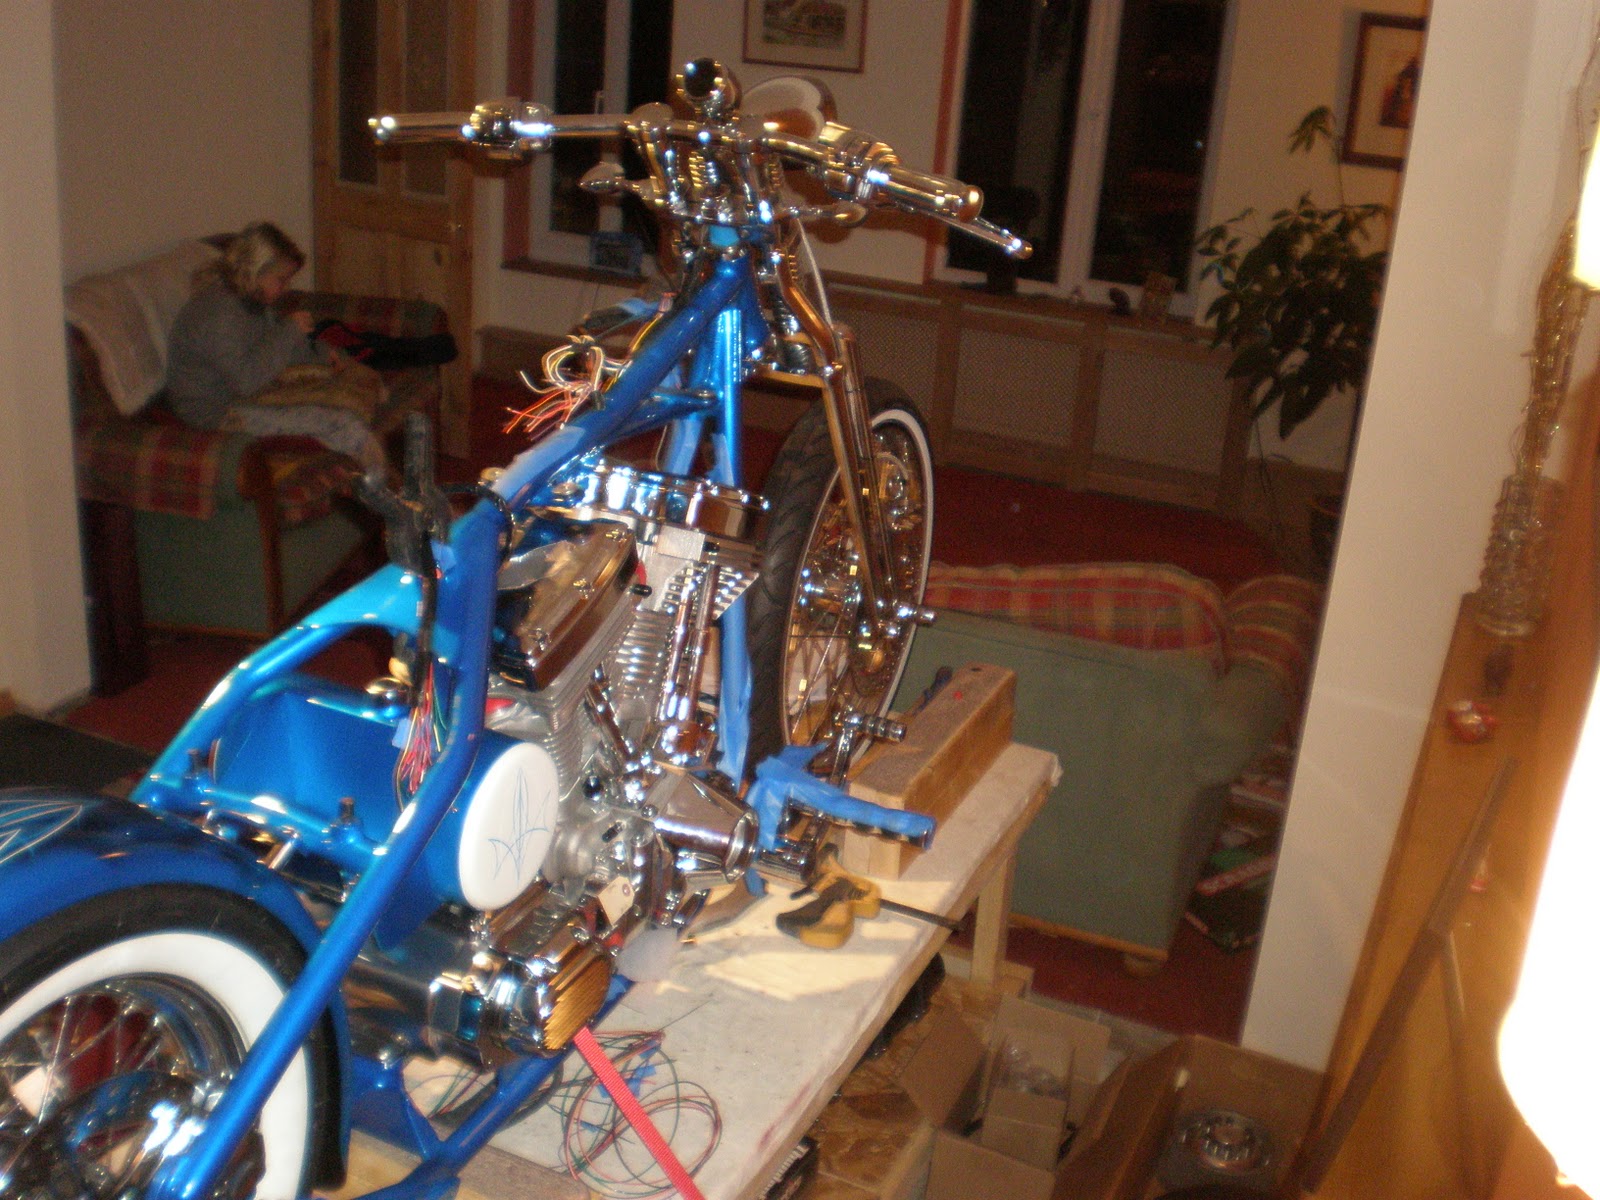
Love this 2010 West Coast Bobber Chopper.

140 CFL. S &S evo, baker 5 speed, primo belt drive. Chip Foose rims, rotors, pm brakes. WCC pipes, Mid controls, up for sale at http://chicacustom.blogspot.com/

Sunday, 7 November 2010

Bobber Chopper Build UK "Half Built" (Lo Boy)


LoBoy Bobber Blog Complete Motorcycle Bike Kit

Fitting the Chain

Now my alignment issues are over………. and the rear wheel spacer is fitted, I have re-checked that my Tranny and rear wheel sprockets are definitely ‘in line’ with a steel straight edge…. its now time to fit the chain. I’ve always known the chain was to long………so yesterday I took out one link. ( a kit came with the bike to do this). I wanted to keep the rear axel as tight to the bolt tensioners as possible, this will give plenty of room for chain stretch…… plus the tyre is a closer fit to the fender which looks better.
 
Im getting there!
I will use a steel 'dolly' and a small hammer to bang over the rivit heads.... I will do this at the end of the build... just in case I have to take the chain back off!
The wheels pulled as far forward as possible.  (mocking up the belt drive assembly in the pic!).

Thursday, 4 November 2010

Ford Flattie

Looks like that starter motor would run a small bike!! Would love to have a go on this....


Big bugger

Love the overflow, you could almost drink it!

Wednesday, 3 November 2010

Installing the Stator and Coil

Installing the Stator was straightforward. Watch your fingers when the magnet takes hold of the outer dish! A waterproof connector and wire is then pushed through the casing which feeds to the regulator...the regulator then has another feed which runs under the bikes frame back to the circuit breaker.

Cleaned the shaft with Emery paper. I then removed the rotor a few times and cleaned away any loose fillings that were sticking to the magnet.

The regulator has a mounting plate which comes with the kit and is held down by the engine bolts.

The coil fastens to the top of the engine mount bracket.... not yet fitted in this picture.
I have also started fitting the coil and ignition switch…. Lots of wiring now for connections to the ignition system.

Have found another few parts missing this week... so Randy at SMW in the States is sending out a break swich bracket and T piece, plus two more break pipes for the rear end.

Tuesday, 2 November 2010

Engine In!


Big Tony came round this afternoon........he’s as big as a bear……….. and just picked up the engine..........and now its in! Southern Motors recommend torqueing down the engine bolts to 25Ib, but I will wait until the transmission, engine and rear are all aligned before I do this. Have also fitted the oil tank and battery box, which sits on rubber mounts.

Cutting paper template for motor mounts

Buzzed off paint!

Engine in!

Won't tighten any bolts untill Tranny and Engine are connected.

Bobber of the Month

Monday, 25 October 2010

Fitting the Front Break Lines


Love the stainless steel rotors....sleek styling.... shims are provided so you can get the disc completely central to the pads.

Ive got a break bleed kit in the shed... a job for the spring!

The stainless steel brake lines come with the kit.... They already have the proper ends attached as an integral part of the line... just a matter of installing the banjo fittings.

Check out this link to buy this Bike on Ebay

Sunday, 24 October 2010

Running and Hiding those Wires


Started soldering the wires together below the fuel tank postion. (from handle bars to Harness Control Module).  Dipped the bare ends in flux and then 'tin' each end and cover in heat shrink

Engine wires for Ignition System etc

Engine wires exit below seat.... hardly seen
 
Hiding those wires under the seat.  Making sure I removed all the sharp bits around the holes using a file.....and protected the wiring with PVC tape and lots of thick heat shrink.

Up through the downtube.
Hidden under the fuel tank
Ready for connections
Handy book for wiring tips!
I carried on with some more wiring this weekend… that’s running the front end wiring from the Harness Controller (fitted below the Tranny) up through the backbone of the frame. It was a matter of drilling two 15mm holes….one in the frame and one below the seat. I was then able to feed the bulk of the wiring up into position where I can make all the connections below the fuel tank.

Theres more holes to come...... Ive still got the rear end wiring to hide!!


Saturday, 23 October 2010